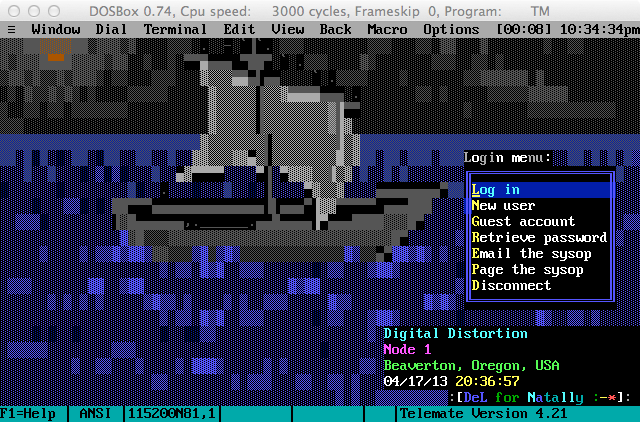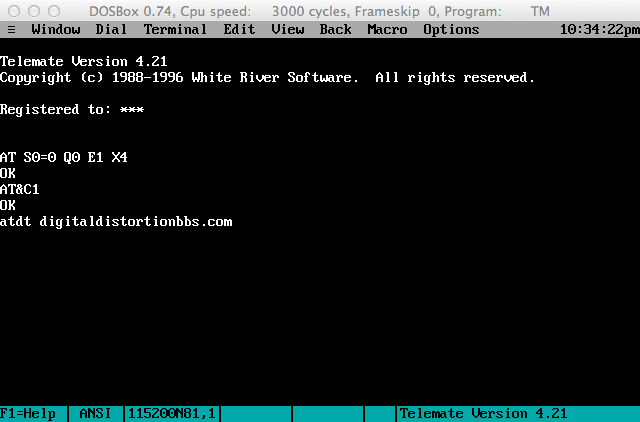
A few months ago I wrote about my experiences trying to telnet in to Atari BBSes using an emulated Atari on my Mac.
Basically the solution boiled down to this: Use tcpser4j to change a telnet connection to a serial connection, use socat to pipe that serial connection to a file, and set the Hatari emulator to use that file as a virtual RS232 device. After those steps, I could run my favorite old Atari ST terminal programs like ANSIterm and Freeze Dried Terminal.
Recently I decided I wanted to do the same thing with a DOS emulator like DOSBox — but for different reasons.
What I wanted to try this time were DOS front-end programs for BBS door games like Global War, Land of Devastation, and TradeWars. These front-ends work only in DOS, and each one is unique. They offer special features like EGA or SVGA graphics or sound effects. I’ll write more about these front-ends in the near future.
Do you enjoy my retrocomputing tutorials on Break Into Chat? Please join my email list and stay in touch. 📬
Setting up DOSBox
Before I could do try using front-ends, first I had to learn how to telnet from a regular terminal program on an emulated PC.
Turns out that it’s really easy. And the folks at StarBase 21 BBS have already written a great tutorial on how to do it.
Basically, you don’t need anything except DOSBox! No socat. No tcpser. DOSBox has its own built-in routines for piping a telnet connection through its virtual serial port.
I’ll condense the SB21 instructions (and clarify one detail for Macs), in case you’d like to try this yourself:
- Download a copy of Telemate or Telix or whatever DOS terminal program you want
-
Download a copy of the latest version of DOSBox for your platform (for me, Mac OS X)
-
Install DOSBox on your machine. This is fairly easy, but if you get stuck you can find help on the DOSBox wiki
-
Edit the config files in a text editor like Notepad, Sublime Text, Text Edit, etc. As the SB21 tutorial explains, the location of the file varies by platform:
Windows XP: %USERPROFILE%\Local Settings\Application Data\DOSBox\dosbox-#.##.conf
Windows Vista / 7: {system drive}:\Users\{username}\AppData\Local\DOSBox\dosbox-#.##.conf
Mac OS X: {username}/Library/Preferences/DOSBox #.## Preferences
(Please note that the SB21 tutorial is slightly mistaken about OS X. On the Mac it is not a .conf file)
4a. Go to the “serial” section beginning on line 199 and change these two lines:
erial1=dummy
serial2=dummy
to
serial1=modem listenport 23
serial2=disabled
4b. Go to the “autoexec” section beginning on line 239 and add a mount instruction. This will tell DOSBox to use a folder on your computer as a hard drive for the emulated DOS PC.
If you’re on Windows, you might put this:
mount c c:\dos
On a Mac, you might put this:
mount c ~/dos
Save and close the config file after making this change.
- On your computer, create that “dos” folder at the location you specified in step 4b.
-
Unzip the terminal program you downloaded in step 1 into the dos folder you created in step 5.
-
Run DOSBox. You should now be able to launch your terminal program! Be sure to change the baud rate to the highest available speed.
-
To telnet to a BBS, just type old Hayes “AT” modem commands into the terminal — but with a telnet address instead of a phone number. For example:
atdt bbs.starbase21.net

You should be golden!

Share your thoughts!